SSH & SCP Porting and User Guide
1. Porting
SSH (Secure Shell) and SCP (Secure Copy) are protocols related to remote login and tools for secure file transfer.
SSH is an encrypted network protocol used to securely log into a remote computer or establish a secure communication connection between computers. SSH provides secure access to remote computers by establishing an encrypted session over the network.
SCP is a file transfer tool based on the SSH protocol, which is used to transfer files securely between the local computer and the remote computer.
The SSH and SCP tools belong to the OpenSSH package, which depends on OpenSSL and Zlib when compiled. Therefore, you need to cross-compile OpenSSL and Zlib before cross-compiling the tools. The version descriptions are as follows:
- OpenSSH: 8.3p1
- OpenSSL: 1.1.1i
- Zlib: 1.2.12
1.1. Traditional method
1.1.1. OpenSSL cross-compilation
OpenSSL is an open source software library that provides a set of cryptographic functions and tools for secure communications. It is widely used in the implementation of security protocols, the establishment of encrypted communications, and the management of digital certificates.
1.1.1.1. Source code download
Version: 1.1.1i
1.1.1.2. Cross-compilation
After the resource package is downloaded, unzip it and enter the opensl-1.1.1i directory. Execute the Configure configuration file to configure the compilation tool chain and specify the corresponding installation path, as follows:
tar -zxvf openssl-1.1.1i.tar.gz
cd openssl-1.1.1i/
export PATH=/tools/toolchain/gcc-10.2.1-20210303-sigmastar-glibc-x86_64_aarch64-linux-gnu/bin:$PATH ; export ARCH=arm64 ; export CROSS_COMPILE=aarch64-linux-gnu-
./Configure --prefix=$PWD/install linux-aarch64
make clean -j8
make -j8
make install
Note that the export command in the above example steps specifies the compilation chain address. In actual operation, please declare it according to the actual compilation chain path. After executing the above steps, you will find the generated header files and library files in the openssl-1.1.1i/install/ path.
1.1.2. Zlib cross-compilation
Zlib is an open source data compression library that provides efficient compression and decompression functions.
1.1.2.1. Source code download
Version: 1.2.12
1.1.2.2. Cross-compilation
After the resource package is downloaded, decompress it and enter the zlib-1.2.12 directory. Execute the configure file to configure the installation directory as follows:
tar -xvf zlib-1.2.12.tar.xz
cd zlib-1.2.12/
export PATH=/tools/toolchain/gcc-10.2.1-20210303-sigmastar-glibc-x86_64_aarch64-linux-gnu/bin:$PATH ; export ARCH=arm64 ; export CROSS_COMPILE=aarch64-linux-gnu-
./configure --prefix=$PWD/install/ --enable-shared
make clean -j8
make -j8
make install
Note that the export command in the above example steps specifies the compilation chain address. In actual operation, please declare it according to the actual compilation chain path. After executing the above steps, you will find the generated header files and library files in the zlib-1.2.12/install/ path.
1.1.3. SSH&SCP cross-compilation
OpenSSH (Open Secure Shell) is an open source network protocol and tool set for secure remote login and data transmission. It is one of the implementations of the SSH protocol and provides encrypted communication and authentication mechanisms to ensure the security of remote access.
1.1.3.1. Source code download
Version: 8.3p1
1.1.3.2. Cross-compilation
After the resource package is downloaded, decompress it and enter the openssh-8.3p1 directory. Execute the configure file to configure the compilation options as follows:
tar -zxvf openssh-8.3p1.tar.gz
cd openssh-8.3p1/
export PATH= /tools/toolchain/gcc-10.2.1-20210303-sigmastar-glibc-x86_64_aarch64-linux-gnu/bin: $PATH ; export ARCH= arm64 ; export CROSS_COMPILE= aarch64-linux-gnu-
./configure --host=aarch64-linux-gnu --with-libs --with-zlib=$PWD/../zlib-1.2.12/ --with-ssl-dir=$PWD/../openssl-1.1.1i/ --exec-prefix=/customer/ssh --prefix=$PWD/install --disable-etc-default-login --disable-strip CC=aarch64-linux-gnu-gcc AR=aarch64-linux-gnu-ar
make clean -j8
make -j8
编译选项说明:
- --prefix: Install system-independent files to the directory PREFIX, the default is /usr/local, here it is specified as ./install directory
- --with-zlib: Zlib installation path
- --with-ssl-dir: OpenSSL installation path
- --host: The platform on which the cross-compiled program runs
The original generated program is large in size and can be trimmed using the following command:
aarch64-linux-gnu-strip ssh --strip-unneeded
aarch64-linux-gnu-strip sshd --strip-unneeded
aarch64-linux-gnu-strip scp --strip-unneeded
Programs built in this way depend on the libz.so.1, libcrypt.so.1, libcrypto.so.1.1, and libutil.so.1 libraries.
1.2. Based on Buildroot
SSH and SCP belong to the OpenSSH package, version 8.3p1, which can be compiled and built directly as follows:
export PATH= /tools/toolchain/gcc-10.2.1-20210303-sigmastar-glibc-x86_64_aarch64-linux-gnu/bin: $PATH ; export ARCH= arm64 ; export CROSS_COMPILE= aarch64-linux-gnu-
cd 3 rdparty/buildroot-masters
make openssh
The sshd that built in this way depends on libselinux.so.1 and libpcre.so.1. The relevant lib libraries are integrated in the 3rdparty/buildroot-master/output/target/usr/lib/ folder.
2. Environment Setup
2.1. Copy Files
Create a target directory and put it at the same level as openssh-8.3p1. The directory structure is as follows:
- target
- etc
- lib
- sbin
(1) Enter the compiled openssh-8.3p1 directory, copy the resources, and execute the following commands:
cd openssh-8.3p1/
cp moduli ssh_config sshd_config ../target/etc
cp sshd scp ssh-keygen ../target/sbin
(2) Copy the relevant library files and execute the following commands:
From the toolchain installation directory, the relevant library files are moved to the /target/lib directory, including:
cd /tools/toolchain/gcc-10.2.1-20210303-sigmastar-glibc-x86_64_aarch64-linux-gnu/aarch64-linux-gnu/libc/
cp ./lib/libcrypt.so.1 target/lib
cp ./lib/libresolv.so.2 target/lib
cp ./lib/libutil.so.1 target/lib
cp ./lib/libnss_files.so.2 target/lib
cp ./lib/libnss_compat.so.2 target/lib
Then copy the dependent libraries such as libcrypto.so.1.1, libz.so.1, libssl.so.1.1 to the directory.
2.2. File packaging and startup configuration
(1) Create a new ssh folder in the project\release\chip\pcupid\dispcam\common\glibc\10.2.1\release\bin\debug directory, and copy the four folders sbin, etc, and lib in the target directory to the project\release\chip\pcupid\dispcam\common\glibc\10.2.1\release\bin\debug directory in the project code. The code project will be automatically copied to the /customer directory when it is compiled.
(2) Modify target/etc/sshd_config to specify the default path of ssh_host_rsa_key and ssh_host_dsa_key and the PermitEmptyPasswords parameter
-#HostKey /etc/ssh/ssh_host_rsa_key
-#HostKey /etc/ssh/ssh_host_ecdsa_key
+HostKey /customer/ssh/etc/ssh_host_rsa_key
+HostKey /customer/ssh/etc/ssh_host_dsa_key
...
-#PermitEmptyPasswords yes
+PermitEmptyPasswords yes


(3) Modify the script for rootfs partition packaging:
-
Change the default password of root to 1234 for ssh login;
The passwd root command used on the board, the password is 1234, the system will change the /etc/passwd file, copy the root line in the /etc/passwd file to configure the root user password;
PS: When using the passwd root command, the rootfs configured when compiling the SDK cannot be a squashfs system. Squashfs is a read-only system, and the passwd command cannot modify the /etc/passwd file
-
Add the sshd user, otherwise the sshd startup will report an error
Privilege separation user sshd does not exist, that is, addsshd:x:74:74:Privilege-separated SSH:/var/empty/sshd:/sbin/nologin, refer to the modified content as follows:
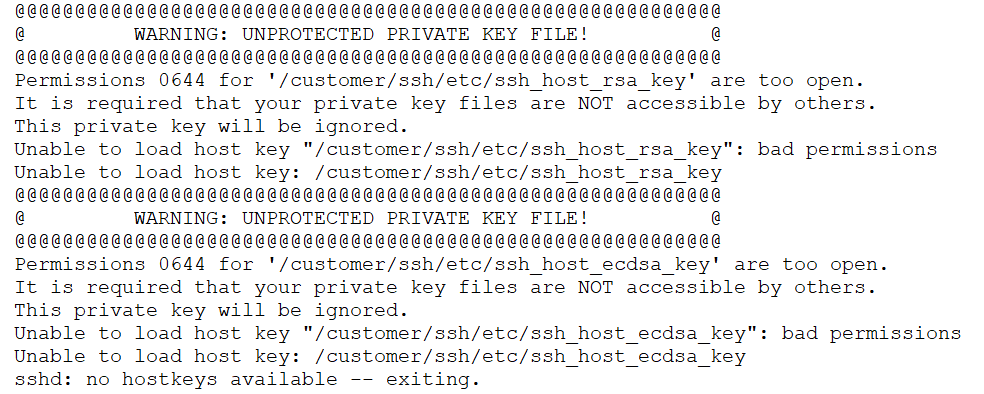
3. Test verification
Execute commands on the board to generate key values and copy related resources:
/customer/ssh/sbin/ssh-keygen -t rsa -f ssh_host_rsa_key -N ""
/customer/ssh/sbin/ssh-keygen -t dsa -f ssh_host_dsa_key -N ""
/customer/ssh/sbin/ssh-keygen -t ecdsa -f ssh_host_ecdsa_key -N ""
Use other tools to copy ssh_host_*_key from the board to /target/lib, so that you can skip this step next time you package. Also copy it to the /customer/ssh/etc directory on the board to start this test. verify.
Enter ifconfig eth0 xx.xx.xx.xx to configure an IP address in the same network segment as the PC host, and confirm that they can ping each other. Then use the command /customer/ssh/sbin/sshd -f /customer/ssh/etc/sshd_config to test and verify.
3.1. SSH authentication
3.1.1. Based on Windows command line
Open Windows cmd and enter ssh -t root@xx.xx.xx.xx. If you can access the device shell normally, it means the connection is successful.

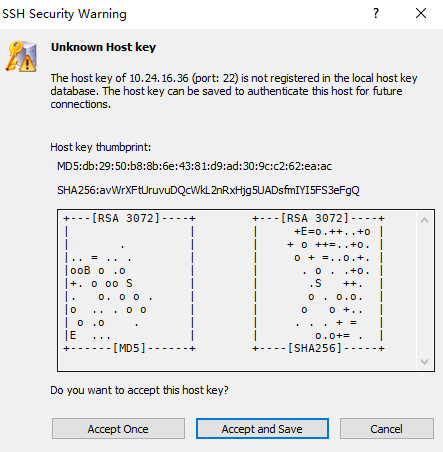
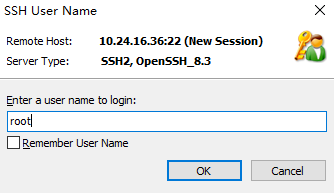
3.1.2. Based on XShell tool
After successfully connecting to the board, you can view the created ssh process through the ps command:

At the same time, you can enter rz/sz in the XShell session to transfer files:
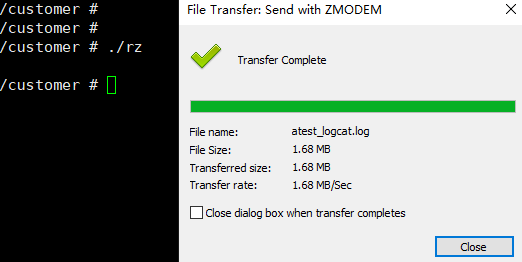
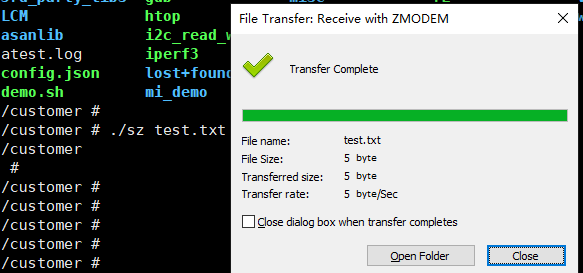
Since the ssh interaction is based on the network, the file transfer speed is much faster than UART.
3.2. scp verification
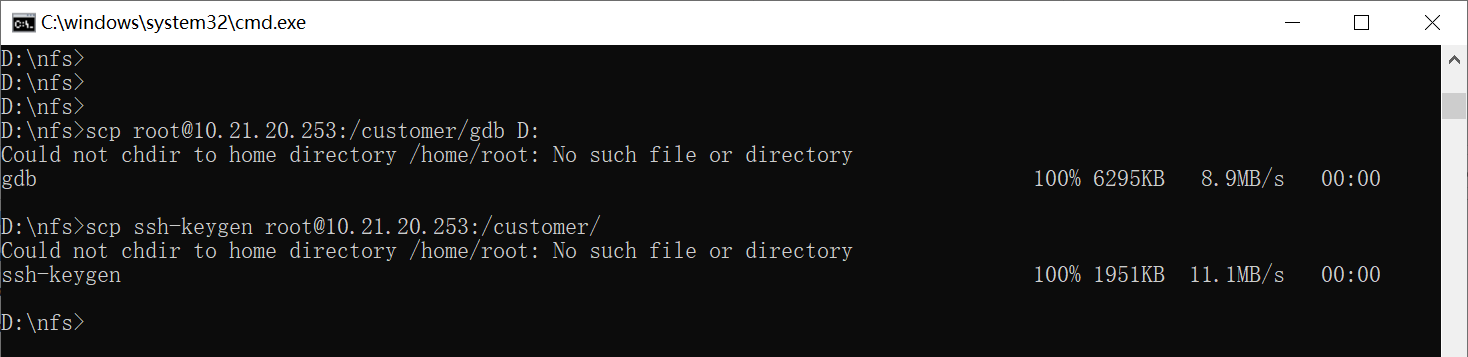
3.2.1. Based on Windows command line
Open cmd or xshell and enter scp root@xx.xx.xx.xx. The PC can upload or download files to or from the board, indicating that scp is working properly.
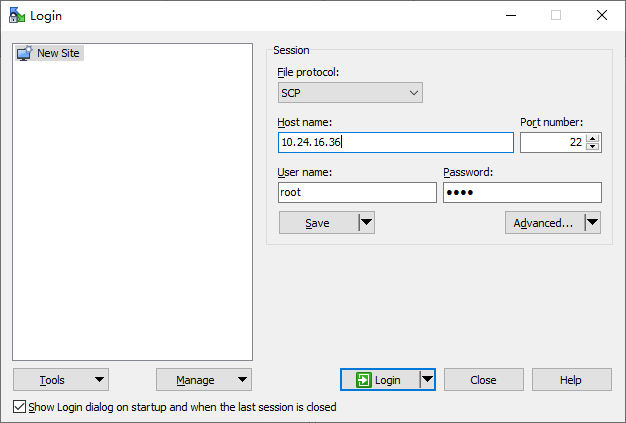
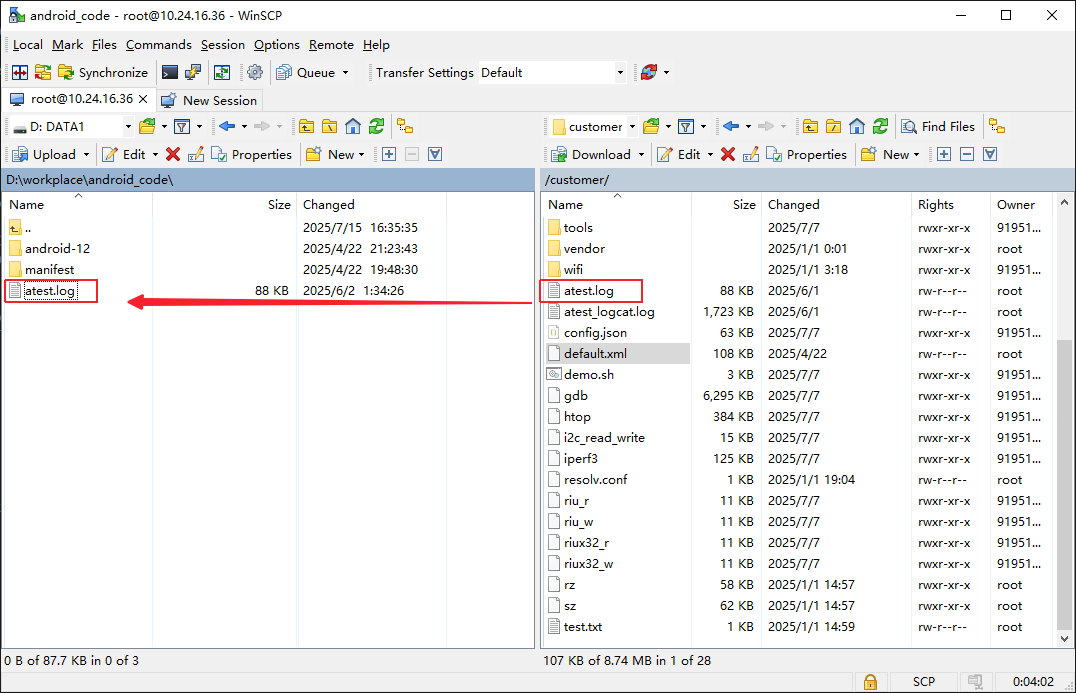
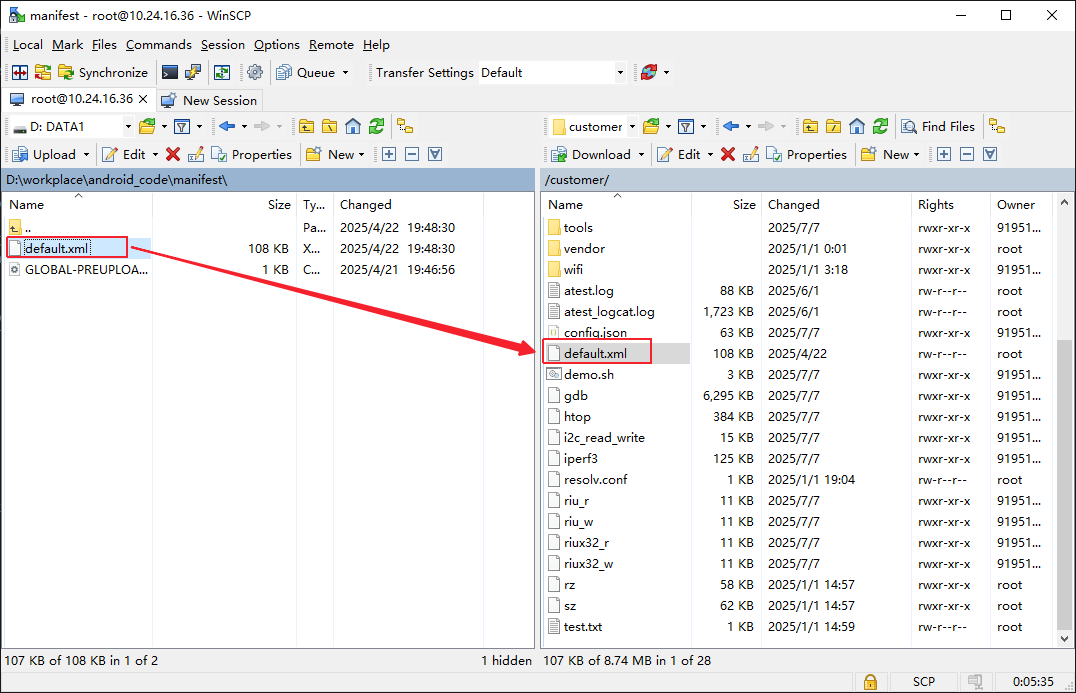
3.2.2. Based on WinSCP
Open WinSCP:
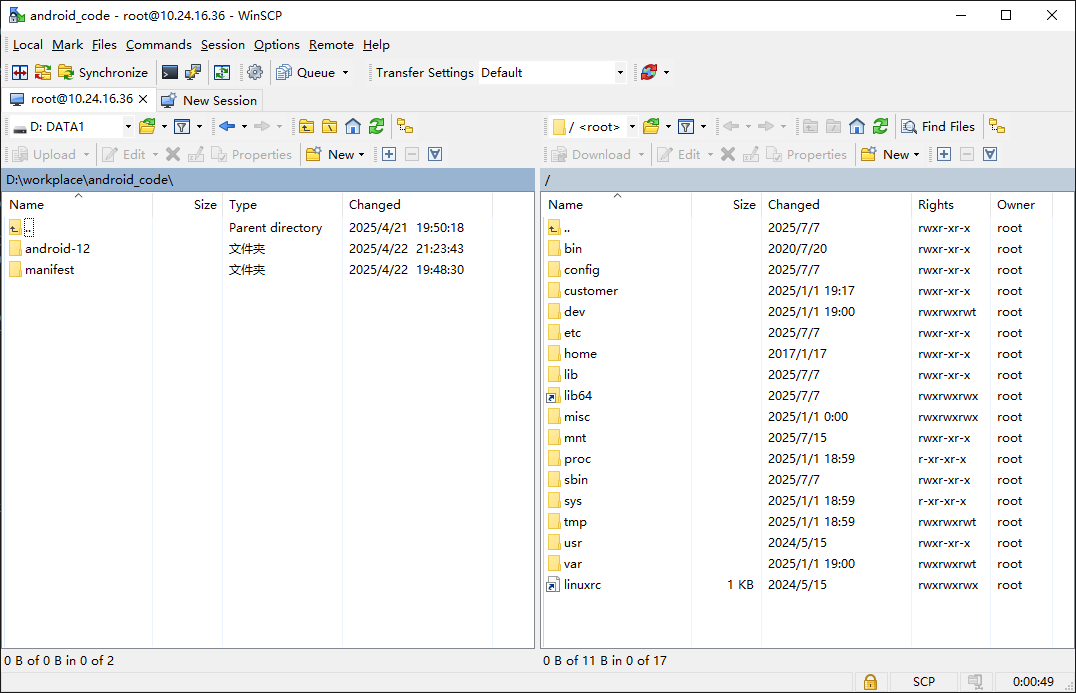
Can be connected to the board normally, and interact with files by dragging left and right:
4. Common Q&A
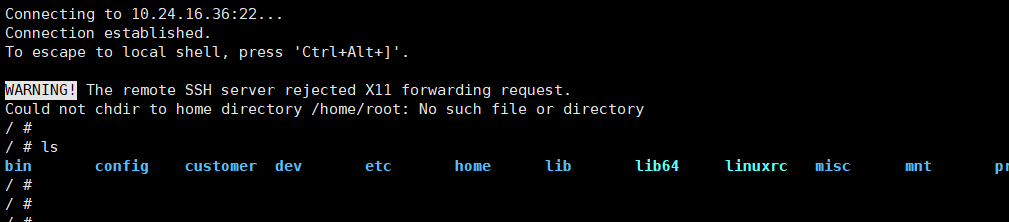
Q1: When using scp, an error message appears: Could not chdir to home directory /home/root: No such file or directory
This problem does not affect the normal use of scp and can be ignored. When the board is remote, the account and password information is not saved in the /home directory. You need to change the remote server rootfs to a writable file system and create a corresponding account folder under /home. scp will create the following path and file and save the key.

Q2: There is a local scp command or scp run file, but it still reports sh: scp: not found
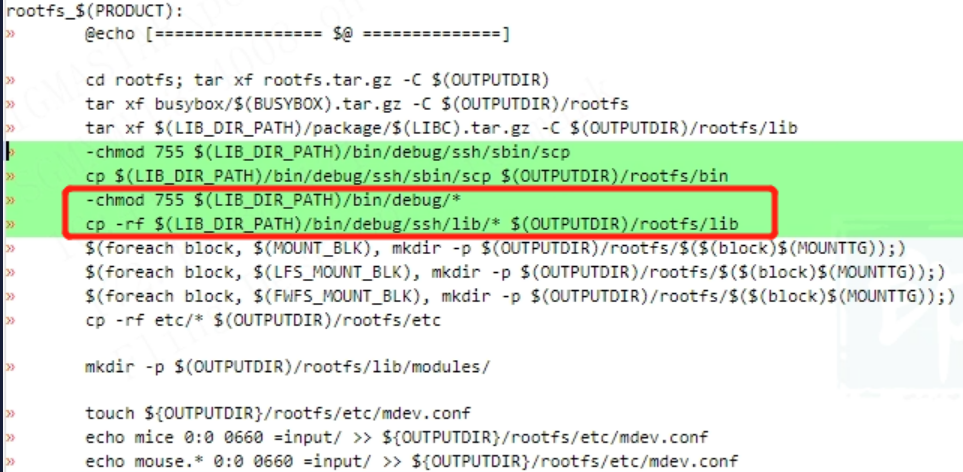
This error means that there is no scp in the remote sh command, not the local one. scp will send scp cmd to the remote end through ssh. From the code, you can see the command is as follows:

When the board is remote, there is no scp command in busybox, so when executing this command, an error message "Cannot find sh command" will be reported. Add the above content to rootfs.mk, and scp will be added to /bin during packaging. scp can be executed in any path to solve the error message problem.

Q3: When executing scp, there are scp dependent libraries such as libutil.so.1 on the board, and the path is also declared. The declaration is added to /etc/profile and /etc/init.d/rcS, but it still reports Cannot open library error
The scp source code link path is hard-coded, and the dependent so libraries must be placed in the /lib directory of rootfs. Add the above content to rootfs.mk, and the corresponding libraries will be packaged to /lib during packaging, solving the above error.
Q4: When SSH accesses the root account, a pop-up message rejects the password
Set PermitEmptyPasswords yes; PermitRootLogin yes; StrictModes yes in /customer/ssh/etc/sshd_config.